The Whimsical World of Snow Ice Cream: A Winter's Delight
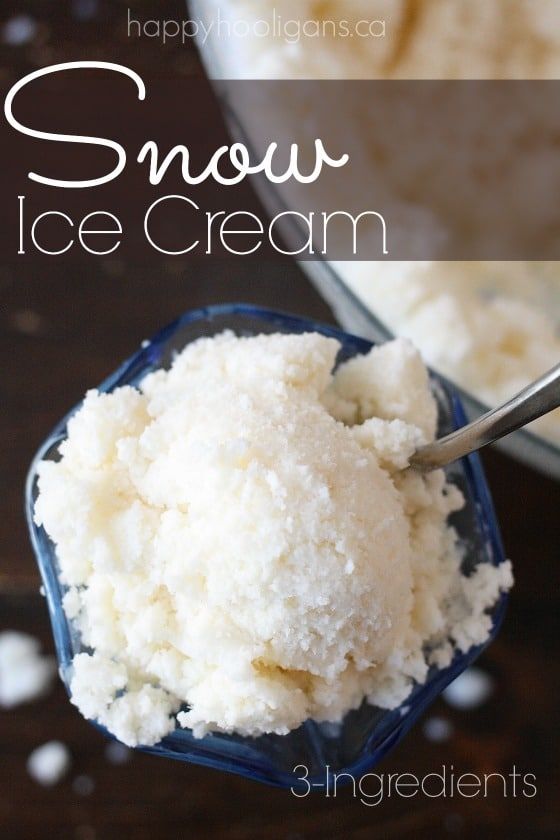
There's a unique magic that only a fresh blanket of snow can bring, and for many, that magic extends right into the kitchen in the form of homemade snow ice cream. This enchanting winter treat, sometimes fondly known as "snow cream" or even "snow monkey ice cream," transcends a simple dessert; it's an experience, a nostalgic journey back to childhood, and a delightful way to celebrate a snowy day. Unlike its churned, creamy counterparts, snow ice cream offers a distinctly lighter, slushy texture, reminiscent of a snow cone, shaved ice, or a delicate granita. It’s not about achieving the rich density of traditional ice cream, but rather embracing the icy, airy crunch that only Mother Nature's finest can provide.
In this comprehensive guide, we'll dive deep into mastering the art of snow ice cream. We'll explore crucial safety protocols for collecting your frosty ingredient, uncover the secrets to achieving your desired texture, and unlock a spectrum of flavor possibilities that will transform your snow day into an unforgettable culinary adventure. Get ready to turn a simple snowfall into a sweet memory.
Safety First: Harvesting Pristine Snow for Your Treat
Before you even think about mixing, the most critical step in making delicious snow ice cream is ensuring your main ingredient is safe to consume. Not all snow is created equal, and prioritizing cleanliness is paramount.
Choosing Your Snow Wisely:
- Fresh is Best: Always opt for freshly fallen snow. It's less likely to have accumulated environmental pollutants or come into contact with contaminants compared to snow that's been on the ground for a while.
- Seek Virgin Snow: Look for undisturbed patches that haven't been walked on, plowed, or subjected to car exhaust. Areas away from roads, sidewalks, and buildings are generally ideal.
- The Golden Rule: Avoid Yellow Snow! This goes without saying, but any discoloration, including yellow, brown, or black, indicates impurities or contaminants. Stick to pristine, bright white snow.
- Consider Your Environment: If you live in an area with high air pollution or industrial activity, it might be best to reconsider making snow ice cream, as even fresh snow can collect airborne particles.
Safe Collection Practices:
- Clean Tools: Use a very large, clean mixing bowl or container to collect your snow. A metal or glass bowl is often preferred.
- Scoop from the Top: Gently scoop only the top layer of snow, usually the first few inches, as it tends to be the freshest and cleanest.
- Work Quickly: Once collected, bring the snow inside immediately to prevent excessive melting, which can dilute your final product.
By following these simple safety guidelines, you ensure that your whimsical winter treat is not only delicious but also worry-free.
Unlocking Perfect Texture: The Science of Your Snow Ice Cream
Achieving the ideal texture for your snow ice cream is a delicate balance, and it largely depends on your ingredients, technique, and even the type of snow itself. While it won't be as rich or thick as slow-churned vanilla ice cream, you can certainly guide it towards a delightful slushy or icy consistency.
The Core Ingredients and Their Roles:
The beauty of snow ice cream lies in its simplicity, typically requiring just four ingredients:
- Fresh Snow: The foundation! Approximately 16 cups is a good starting point, but flexibility is key.
- Sweetened Condensed Milk (SCM) or Milk & Sugar: SCM offers unparalleled convenience and creaminess. All it is is evaporated milk and sugar, pre-mixed. If you don't have a can handy, a simple swap of regular milk and granulated sugar works beautifully. For detailed instructions on both methods and how to handle common issues, check out our guide: No SCM? How to Make Snow Ice Cream + Fix Soupy Sadness.
- Vanilla Extract: Essential for flavor. Without it, you're essentially just eating sweet snow.
- A Pinch of Salt: This humble ingredient plays a surprisingly powerful dual role. First, it acts as a flavor enhancer, intensifying the sweetness of the sugar and the aromatic notes of the vanilla. Second, and perhaps more fascinatingly, salt depresses the freezing point of water. This means it helps keep your snow colder for longer, slowing down the melting process during mixing and serving. It allows the mixture to be colder than 32°F (0°C) without fully freezing, contributing to that perfect slushy consistency.
Mastering the Mixing Technique:
- Work Fast, Stay Cold: Snow, like ice cream, melts quickly! This is an ideal recipe to make outdoors on a cold day, especially if you have little helpers. If indoors, ensure all your ingredients are pre-measured and ready.
- The Big Bowl Advantage: Use a very large mixing bowl – bigger than you think you'll need. This provides ample space for vigorous stirring without spillage.
- Consistent Stirring: Add your SCM (or milk and sugar mixture), vanilla, and salt directly over the collected snow. Stir continuously and thoroughly. This takes patience! The goal is to evenly distribute the liquid throughout the snow until it transforms into a uniform, slushy consistency. Don't expect a thick, scoopable ice cream; think more along the lines of a dense snow cone.
- Adjusting Consistency:
- Too watery/soupy? This is the #1 problem. Don't fret! Simply place the mixture into the freezer for about 20-30 minutes, then stir again. This will help it firm up without solidifying completely. Our article on No SCM? How to Make Snow Ice Cream + Fix Soupy Sadness offers more in-depth solutions.
- Too thick/icy? A splash more regular milk can help thin it out to your desired consistency.
The Snow's Influence on Texture:
The type of snow you collect significantly impacts the final texture of your treat:
- Fluffy, Dry Snow: Often leads to a lighter, icier, more granita-like texture.
- Wet, Heavy Snow: Tends to yield a creamier, denser consistency due to its higher water content.
Experimentation is part of the fun! Remember, perfection in snow ice cream isn't about replicating traditional ice cream, but about celebrating its unique, refreshing character.
Beyond Vanilla: Elevating the Flavor of Your Snow Ice Cream
While classic vanilla snow ice cream is undeniably delicious, the beauty of this simple recipe lies in its versatility. You can easily elevate the flavor profile with a few creative additions, turning a basic treat into a personalized winter delight.
Exploring Flavor Extracts:
Vanilla is a fantastic base, but don't stop there! Consider these alternatives or additions:
- Almond Extract: Adds a delicate, nutty undertone that pairs beautifully with the sweetness.
- Peppermint Extract: Perfect for a festive, cool, and invigorating treat, especially around the holidays.
- Coconut Extract: Transport yourself to a tropical paradise, even amidst the snow.
- Lemon or Orange Extract: A bright, zesty burst of citrus can be incredibly refreshing.
- Maple Extract: Evokes the cozy warmth of a winter cabin.
- Coffee or Mocha Extract: For a sophisticated, adult-friendly twist.
Start with a small amount (e.g., ½ teaspoon) and adjust to taste, as extracts can be quite potent.
The Art of Toppings and Mix-ins:
Once your snow ice cream is mixed to perfection, the real fun begins with toppings! This is where you can truly unleash your creativity and cater to any sweet tooth.
- Classic Candies: Sprinkles (rainbow or festive colors), mini chocolate chips, crushed peppermints, gummy bears.
- Sauces and Syrups: Chocolate syrup, caramel sauce, strawberry puree, maple syrup, honey, or even a drizzle of sweetened condensed milk for extra richness.
- Fresh & Fruity: Sliced bananas, fresh berries (strawberries, blueberries), diced mango, or a dollop of fruit compote.
- Crunchy Delights: Crushed cookies (Oreos, graham crackers), chopped nuts (pecans, walnuts), shredded coconut, granola.
- Whipped Wonders: A swirl of whipped cream adds a luxurious touch.
Encourage family and friends to customize their bowls, making each serving a unique masterpiece. For more quick and easy winter treat ideas, including variations on this recipe, explore our Minute Snow Ice Cream: Easy 4-Ingredient Winter Treat guide.
Troubleshooting & Tips for Snow Ice Cream Success
Even with simple recipes like snow ice cream, a few common hiccups can occur. Knowing how to troubleshoot and applying some pro tips can ensure your winter treat is always a success.
Common Challenges and Solutions:
- "Soupy Sadness": As mentioned, this is the most frequent issue. If your mixture becomes too watery, don't despair! Place the bowl in the freezer for about 20-30 minutes. The mixture will firm up without fully freezing, allowing you to stir it back to a delightful slushy consistency. Avoid over-stirring once it reaches your desired texture.
- Not Sweet Enough: Taste as you go! If your snow ice cream lacks sweetness, add a tablespoon or two of granulated sugar (dissolved in a tiny bit of milk or water first to prevent grittiness) or a bit more sweetened condensed milk. Stir well and taste again.
- Flavor is Flat: A common mistake is skimping on the vanilla or other extracts. Remember, without enough extract, it will just taste like sweet snow. Increase the amount gradually until the flavor shines. The pinch of salt is also crucial for boosting flavor, so don't omit it!
- Melting Too Fast: This is part of the charm, but also a challenge. Serve immediately after mixing. Chilling your serving bowls in the freezer beforehand can also help keep the treat colder for longer. Making it outside on a very cold day is perhaps the ultimate tip for slowing down the melt!
Pro Tips for the Best Snow Ice Cream:
- Chill Your Bowl: Place your large mixing bowl in the freezer for 15-30 minutes before collecting snow. A cold bowl will help maintain the snow's temperature and slow melting during the mixing process.
- Pre-measure Everything: Have your sweetened condensed milk, vanilla, and salt ready to go. The less time the snow sits while you measure, the better.
- Small Batches for Kids: If making with young children, consider dividing the snow into smaller bowls for individual mixing. This gives each child a sense of ownership and allows for quicker mixing without excessive melting.
- Experiment with Liquids: Beyond regular milk, try using a splash of half-and-half or even light cream for a slightly richer (though still icy) texture if you're not using SCM.
- Presentation Matters: Scoop your snow ice cream into cute bowls, sundae dishes, or even ice cream cones for an extra touch of fun.
Conclusion
Mastering snow ice cream isn't about perfection in the traditional sense, but rather about embracing the spontaneous joy and unique character of this whimsical winter treat. From carefully collecting pristine snow to artfully balancing textures and flavors, each step contributes to an experience that's both delicious and memorable. Whether you prefer the simplicity of classic vanilla or venture into adventurous flavor combinations, snow ice cream offers a magical way to connect with nature's bounty and create cherished moments with loved ones. So, the next time winter blesses your landscape with a fresh blanket of white, grab your bowl, gather your ingredients, and transform that snow day into a sweet celebration.
